Three Ways to Perform At-Home Stump Removal in Kalamazoo
Sometimes, it becomes necessary to remove a tree or stump on your property. The only snag of actually getting the job done, though, is just how immovable they are. Trees and tree stumps are huge, heavy, and rooted deep in the ground. If you’ve tried removing a tree or stump yourself, then you know how tall of an order it can be to do so safely and haul the thing off your property.
With all this in mind, trying to decide what to do with your trees and tree stumps can be a tough call. Do you leave them alone? Try to get rid of them yourself? Call in the professionals?
Well, we want to clear the air on these questions. Today, we’ll be talking about the process of removing trees and stumps, and when you should give our professionals a call.
1. Manual Extraction
Taking a hands-on approach to stump removal involves using basic tools and a bit of elbow grease. First, you’ll need to dig around the stump, making sure to wash away any dirt with a hose or pressure washer as you go. Continue digging and cutting until you find the taproot, which must be cut in order to fully remove the stump.
Tools You’ll Need:
- Mattock: Essentially half a pickaxe and half an adze, making it perfect for breaking up soil and cutting through roots.
- Pickaxe: Ideal for breaking up solidly-compacted soil and further loosening roots.
- Shovel: Needed for digging around the stump and exposing the roots.
- Chainsaw: The initial cut close to the ground is made easier with a chainsaw.
2. Chemical Stump Removal
For a more hands-off approach, chemical stump removal utilizes high-nitrogen fertilizer and a few additional materials to facilitate decay. Simply drill holes in the stump, fill them with fertilizer, and cover the stump with a plastic tarp to expedite the decomposition process. As this process takes place over the course of the next month, make sure to check in every once in a while to remove any chunks of stump that have separated from the whole.
Materials You’ll Need:
- High-nitrogen fertilizer: This accelerates the natural decay process by providing nutrients to decomposing organisms.
- Plastic tarp: Covering the stump with a tarp helps to retain moisture, speeding up the decomposition process.
- Chainsaw or drill: Make holes in the stump to facilitate the application of fertilizer.
- Epsom salt (optional): Adding Epsom salt to the holes further accelerates decay.
3. Burning the Stump
If you prefer a faster solution, burning the stump can be a surprisingly effective method. Drill holes into the stump, fill them with kerosene or fuel oil, and ignite the stump using a cone-shaped structure made of dry leaves or straw. Make sure to closely watch the flame as it burns, to ensure it doesn’t spread or go out of your control.
Because this solution requires the use of fire, we recommend that you only do this if you have experience with stump removal or are operating under the guidance of someone who has removed stumps in this way.
Items You’ll Need:
- Kerosene or fuel oil: Saturate the stump with these flammable liquids to initiate the burning process.
- Drill: Create holes in the stump to allow the fuel to penetrate and facilitate combustion.
- Chainsaw: Use a chainsaw to create notches or additional openings in the stump.
- Dry leaves or straw: Build a cone-shaped structure around the stump to contain the fire and provide additional fuel.
Choosing the Right Stump Removal Method for You
As you move forward with your stump removal, consider the size of the stump, your comfort with manual labor, and the time you can dedicate to the process.
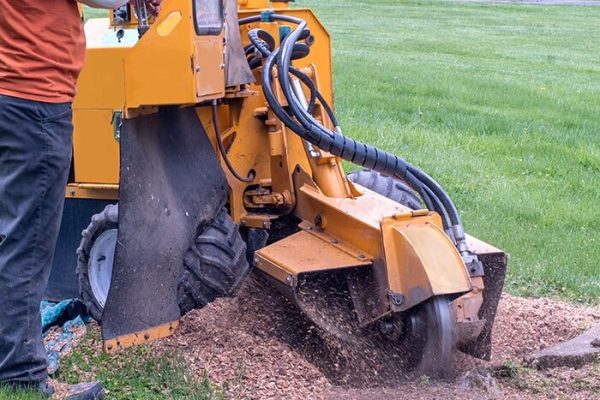
If you need stump grinding or stump removal and are just not sure about how to proceed, then we recommend you click here to contact us today. When you work with us, our professionals will assess what it takes to remove or grind your stump, and quote you a fair and honest price.


